Tips to Replace Recessed Light With Pendant
Figuring out how to replace recessed lighting fixtures with hanging fixtures is an intricate but ultimately simple process. Below, we’ll give you a quick but extensive step-by-step guide on how to replace recessed light with pendant safely, quickly, and seamlessly.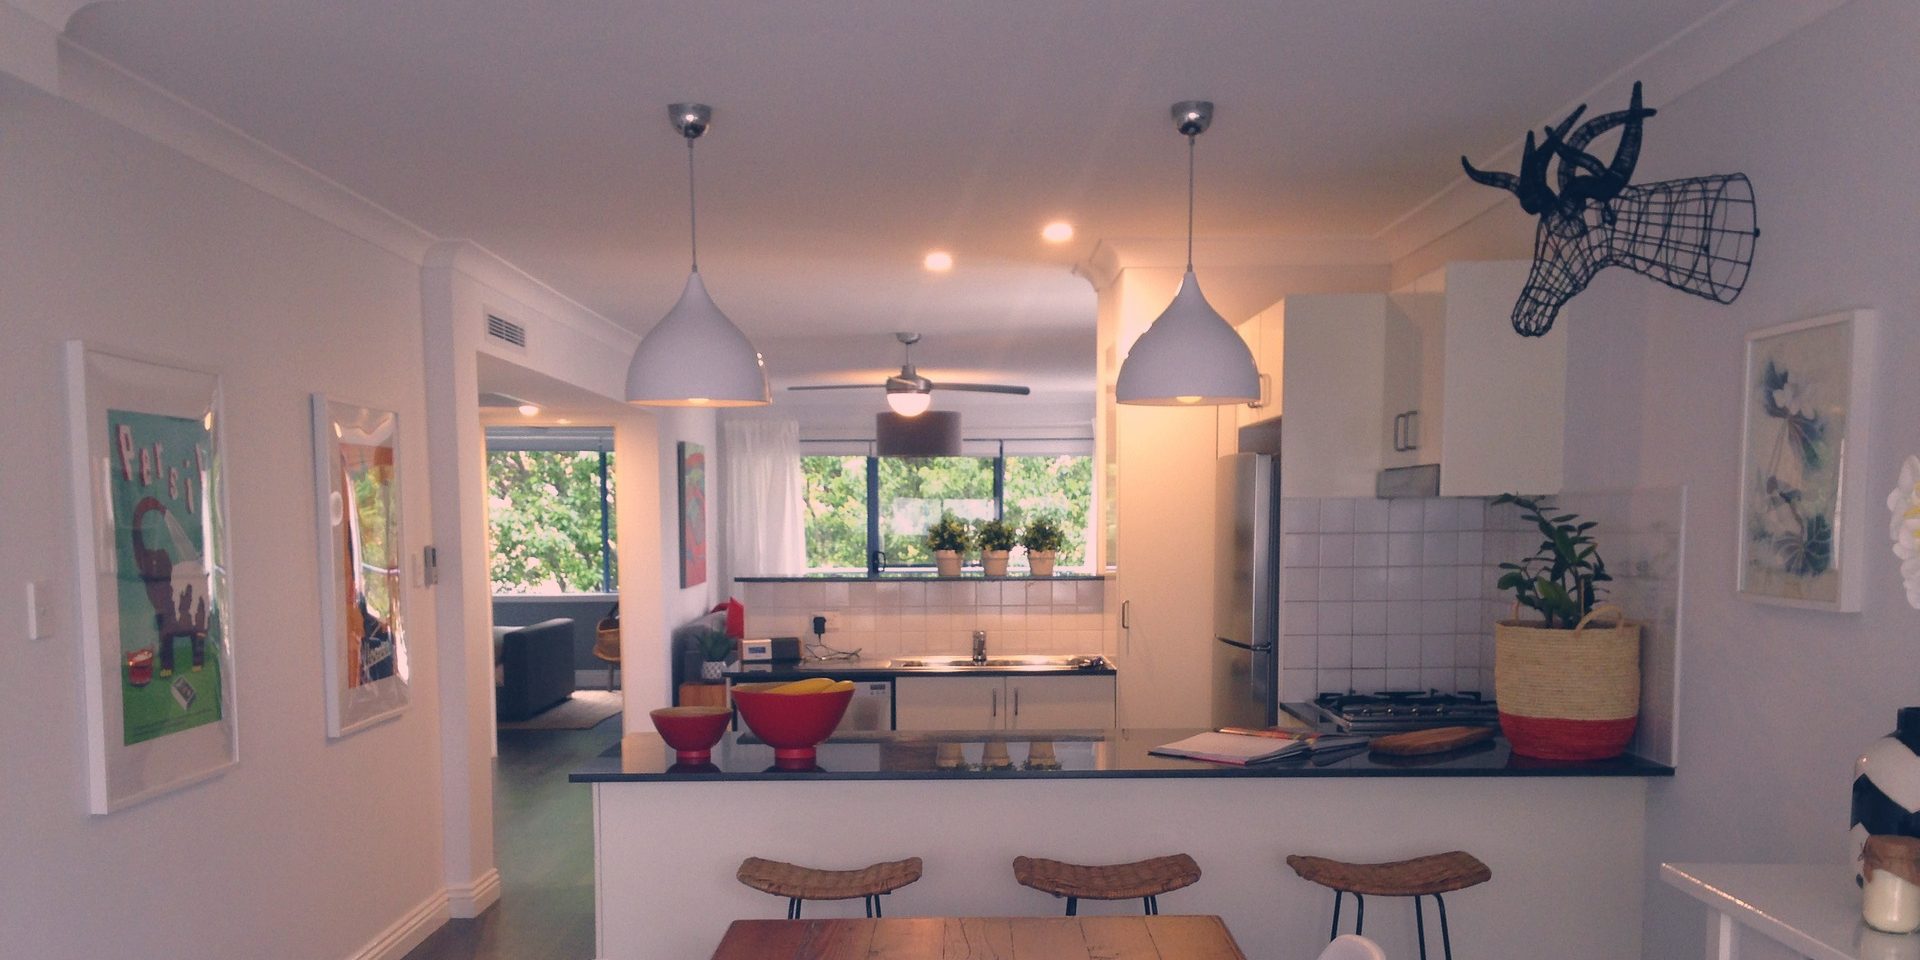
- Pick the right fixture. The first step for how to change recessed light to pendant light is to pick a pendant light fixture with a socket adapter and mounting bracket that would fit inside the recessed fixture. You might want to remove the recessed light and trim first and take the pictures and measurements of the recessed fixture before going to the shop.
- Turn off the electricity. Don’t just flip the switch in the room in question but also make sure to turn off the circuit breaker at the main electrical panel of your home.
- Remove the recessed light bulb. With the electricity turned off, remove the lightbulb from the recessed fixture. This should be easy to do with any recessed light as you’ll only need to unscrew it.
- Remove the recessed light’s trim as well. This should also be simple as you’ll also need to just disconnect and unscrew or pull off the recessed light’s trim. This is necessary if you want to change can light to pendant light.
- Prewire the socket adapter of the pendant. The first major step to replace can light with pendant light is to wire the socket adapter adequately.
- Screw the socket adapter into the recessed fixture. If you’ve picked the right pendant for your fixture, the socket adapter should fit nicely.
- Put together the mounting bracket. The mounting bracket is what’s going to support the new pendant light so make sure to assemble it as per its instructions.
- Screw the mounting bracket on. Put the wires through the threaded nipple of the mounting bracket and screw the bracket to the recessed fixture.
- Install the mounting plate. Next, pass the wires through the hole of the mounting plate as well and fit the plate to the mounting bracket. There should be a protrusion or two on the bracket that fits nicely with the mounting plate. Then, just screw the two threaded studs onto the mounting plate’s tapped holes.
- Place the pendant light’s medallion. The correct way to do this is to place the medallion over the top end of the pendant light.
- Connect the wires to the pendant light. Use twist-on wire connectors to join the wires with the proper color wires on the pendant light – white with white and black with black. There should be a green wire too which is usually connected with the bare-copper ground wire.
- Secure the pendant. Gently fold the excess length of the wires inside the canopy and connect the pendant to the threaded studs with its decorative nuts.
- Enjoy your pendant light! All that’s left to do is to screw in a lightbulb of your choosing and turn the power back on.